If you are looking for an easy way to waterproof your bathroom floor and eliminate moisture problems, Schluter Ditra Underlayment may be the solution you have been looking for.
Water damage is a serious problem for most homeowners. It can cause mold, mildew, and structural rot, costing you thousands to repair and even more to replace structural elements like floor joists or ceiling supports. In most homes, the bathroom tends to be the room most prone to water leaks. With proper waterproofing techniques and materials, however, you can effectively prevent leaks from causing damage ensuring your bathroom is waterproof for years to come.
This article elaborates on waterproofing bathroom floors using Schluter Ditra Underlayment. We first introduce the required tools and materials needed then briefly explain the steps to install Ditra Underlayment on a plywood subfloor in a bathroom. This installation method can be used for a typical plywood floor (¾ inch subfloor over 16 inch center-to-center joists). Keep reading to learn more.
What is Schluter Ditra Underlayment ?
Schluter Ditra is an underlayment membrane designed as a thin waterproof barrier between the subfloor it will be covering and the tile or stone that will be installed on top of it. Its primary purposes are to prevent water penetration to the subfloor, and to protect the integrity of the tile assembly by allowing the subfloor to expand and contract without transferring that movement to the tiles. Compared to cement boards, which have been widely used as underlayment for years, the Ditra functions better. When it comes to waterproofing, Schluter Ditra underlayment is the premium choice.
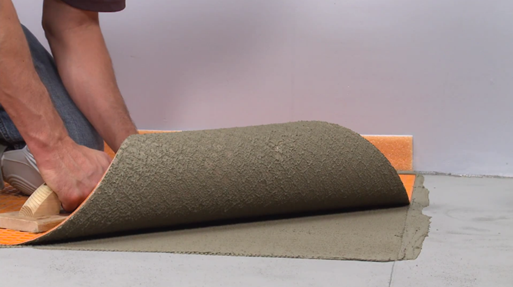
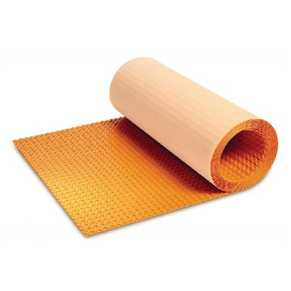
Figure 1
Tools and material:
· Schluter Ditra underlayment
· Kerdi Band
· Kerdi Fix
· 3/16” Schluter notched trowel (Ditra trowel)
· 1/8” Schluter notched trowel (Kerdi trowel)
· All-set mortar/Modified mortar
· Utility knife
· Mixing paddle
· Bucket
· Grout float
· Sponge
· Towel
Step 1: Prepare the Subfloor.
Once you gather all the required tools and materials, you should start by preparing the subfloor. First, ensure the subfloor is clean and free of dust and debris so the mortar can adhere to the plywood. You can use a damp sponge to remove dust from the subfloor completely (See Figure 2). It also helps the wood surface of the subfloor not to absorb all the water in the mortar immediately.
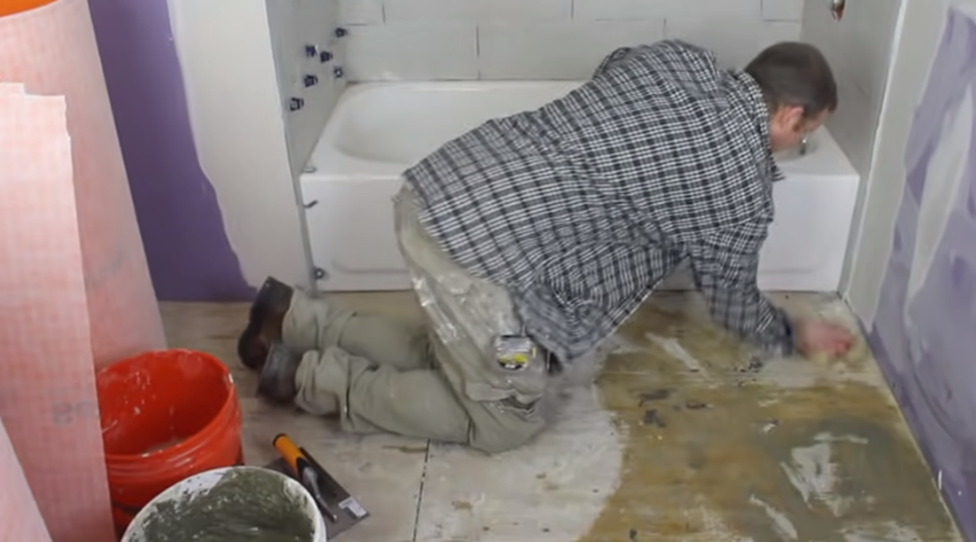
Figure 2
In this step, you may also need to pound in any protruding nails to make the surface completely flat.
Step 2: Install the Ditra Underlayment.
After cleaning and preparing the subfloor, you can start installing the Ditra underlayment. Follow the steps below to install the product.
1. Take measurements of the area you want to cover, and cut the underlayment accordingly.
2. Dry fit the Ditra underlayment to the area (See Figure 3).
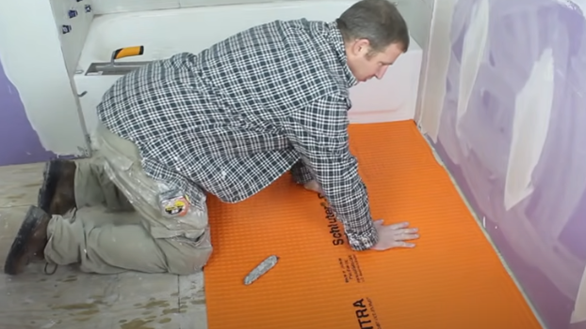
Figure 3
For Ditra to expand and contract, leave a ¼ inch gap along the borders of the walls as well as against the tub (See Figure 4).

Figure 4
3. Mix the modified mortar. For adhering Ditra to plywood, you need to use modified mortar. Try to add the maximum amount of water according to the packaging while mixing. This ensures the plywood subfloor does not absorb the water in the mortar causing it to dry too quickly. In order to adhere Ditra to the subfloor, you need to apply a thick layer of mortar to the plywood; also by making it watery it will be easier to spread.
4. Apply the mortar to the floor and spread it using the flat side of the trowel. Then comb all the mortar in the same direction (See Figure 5).
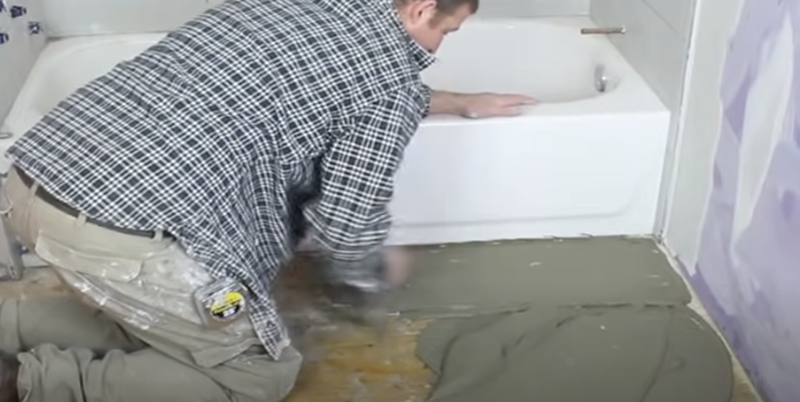
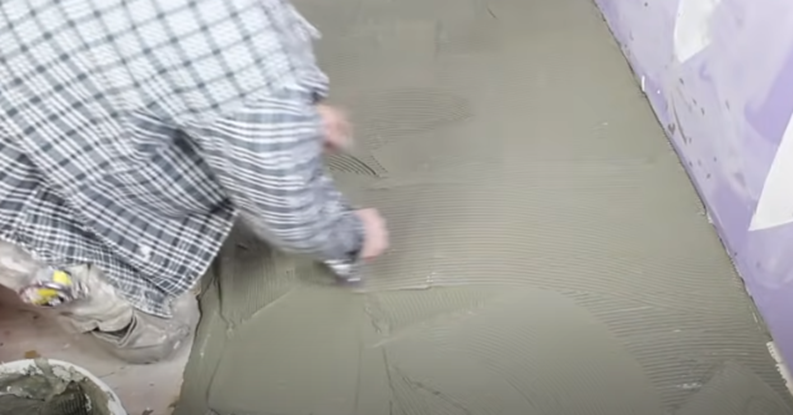
Figure 5
5. Place the Ditra down. Make sure you have a ¼ inch gap. Then use a grout float to apply pressure all over it (See Figure 6).

Figure 6
6. To make sure the Ditra adheres completely, take a look under the Ditra. It should be 100% covered with mortar. If not, add more mortar, comb it and place the Ditra down again.
As you can see in Figure 7, the underlayment is not 100% covered and needs more mortar and more pressure.

Figure 7
7. Apply Ditra to the entire floor as described above.
If you have a toilet flange or any obstacles in the area, take the measurements, cut the underlayment and place it down. Do not forget the ¼ inch gap between the underlayment and edges.
Step 3: Waterproof Joints and Edges.
In a bathroom, we usually have three joints: joints between the tub or flange, joints at the wall edges, and joints between the Ditra layers.
For waterproofing joints and edges, we use Schluter Kerdi products to fill the gaps and make the system completely waterproof.
1. For tub edges and toilet flanges, the most likely area for water penetration, use Kerdi Fix, which is a kind of caulk. First, take a dry towel and make sure the area you are applying the Kerdi Fix is dry. Then, put a layer of caulk against the tub and then apply more caulk to fill the joint (See Figure 8).

Figure 8
2. After filling the joint with the Kerdi Fix, you should apply the Kerdi Band on top of that. Mix all-set mortar or an unmodified mortar and apply it on top of the Ditra; try to fill the waffles (square shapes on Ditra) using a float in the area where the Kerdi Band is going to be placed (See Figure 9).

Figure 9
3. Apply more mortar and comb with the Kerdi trowel (See Figure 10).

Figure 10
4. Place Kerdi Band, ⅜ inch, over the Kerdi Fix around the tub. Apply pressure on the Kerdi Band using a float and remove the excess mortar (See Figure 11).
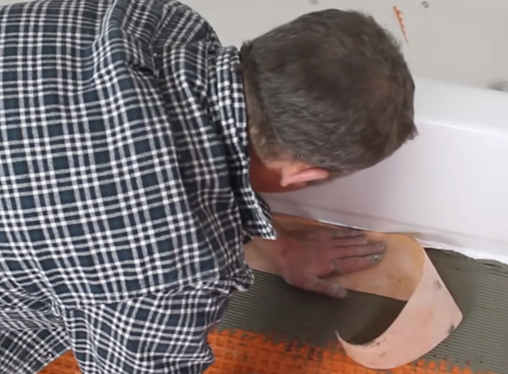
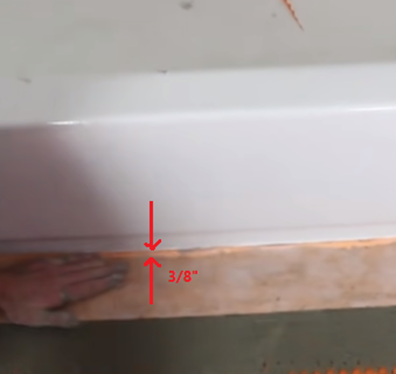
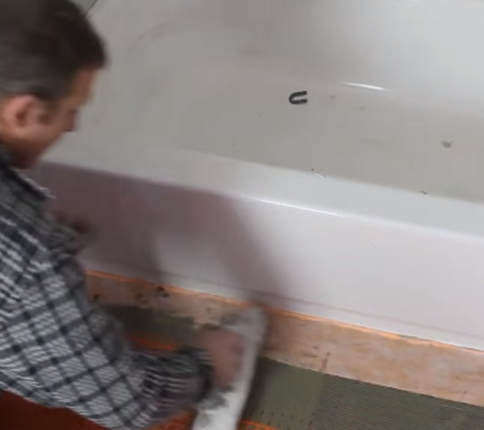
Figure 11
5. For wall edges, do not use Kerdi Fix; a layer of Kerdi Band provides the required waterproofing. First, fill the waffles. Then apply more mortar and comb using the Kerdi trowel.
6. Apply 2 ½ or 3 inches of mortar on the wall and comb using a Kerdi trowel (See Figure 12).
You should overlap the Kerdi Bands; it requires at least 2 inches of overlap wherever Kerdi Band meets Kerdi Band. So when applying mortar, cover two inches of the floor Kerdi Band too.
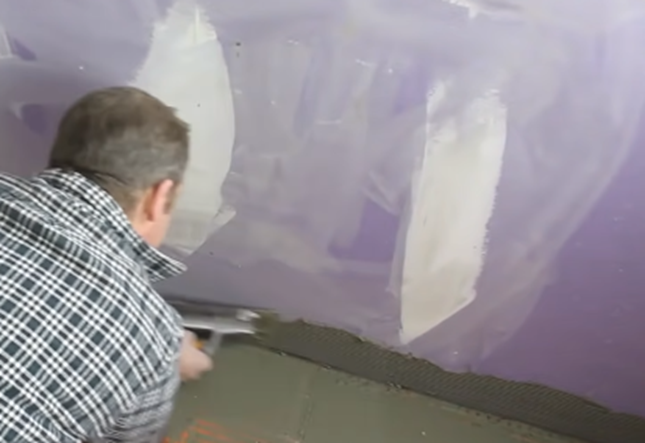
Figure 12
7. Fold Kerdi before placing it. Then place it down. Apply pressure using a float and remove excess mortar (See Figure 13).
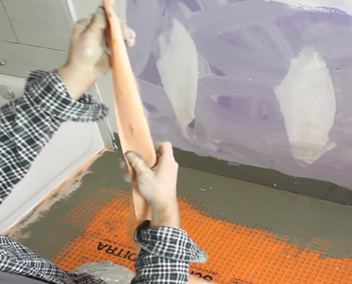

Figure 13
8. Try to clean the mortar off the wall using a damp sponge.
9. The next step is to waterproof the joints between the Ditra layers. Use the same steps that we explained above for the wall edges. Put the layers as close as possible to each other, apply a layer of mortar, spread it using a Kerdi trowel, and then place the Kerdi Band and press it (See Figure 14). Remember the 2 inches of overlap for the Kerdi Bands.
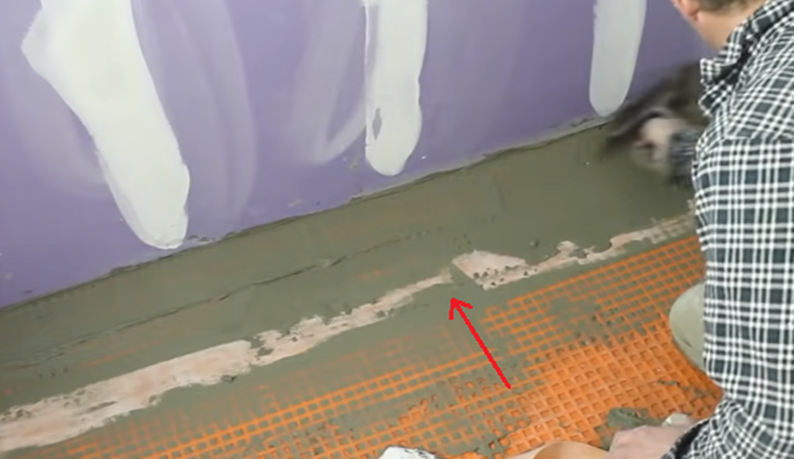
Figure 14
You can do the tiling right away, but the tiling job will be easier if you give the mortar some time to set. Also, before tiling, it is a good idea to fill the waffles with mortar and let them set overnight. This way you will have a flat surface to install the tiles on the next day. If you are using mosaic tiles, use a small amount of mortar since they are small. Filling the waffles and installing the tiles on the same day can be very difficult.
The Bottom Line
When properly installed, Ditra is an effective waterproofing and vapor resistant underlayment to use under tiles. Although it can be a little expensive, the easy installation and great waterproofing features make it worth the extra money. With Schluter Ditra Underlayment, your floors will be installed professionally. If you live in the Philadelphia area and are looking for professionals to do the Ditra installation job for you as a part of your home renovation project, Matrix Company Solutions Corp. can assist. Feel free to contact us via our FREE Consultation Service link!
References:
- Installation handbook PDF
- https://www.youtube.com/watch?v=3UjHPUcGUk8&t=611s
- https://www.youtube.com/watch?v=anXgmjrHS0s


0 Comments
Trackbacks/Pingbacks