Have you ever installed a laminate countertop and come across an exposed end? Have you ever wondered what to do in such a situation? Leaving it bare is not the answer! That’s where you need a countertop end cap.
A countertop end cap is a fancy finishing piece that covers and completes the exposed end of a laminate countertop. Countertops often have finished edges along their sides, but the end may be exposed when a countertop is not against a wall or cabinet. In such cases, an end cap adds a polished and finished appearance to the countertop. End caps can be made from various materials, matching the countertop and ensuring a seamless blend with the overall surface.
This article shows you the most straightforward way to install a laminate countertop end cap with an integrated backsplash. Let’s dive in!
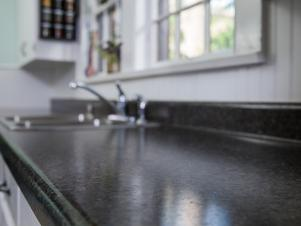
Figure 1
Tools and Materials
Before you begin the installation, gather all the required tools and materials listed below.
- Hammer
- Household iron
- End cap kit for countertop (Figure 2)
- Damp cloth
- File
- Sandpaper
- Pencil
- Scissor
- Wood glue
- Acetone or soapy water
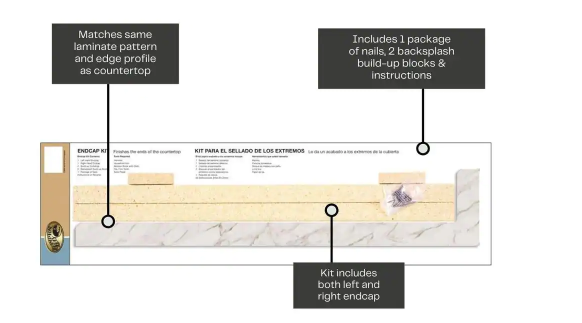
Figure 2
Note: It is easier to install a laminate countertop end cap before installing the countertop. However, if you have already installed your countertop, no problem; you can still correctly install the end cap.
1. Install Build-Up Strips
First, you must create a solid foundation for your end cap. The end cap kit you purchase from Home Depot or another home improvement store includes two long and two short build-up strips. Choose the kit that matches the look of your countertop. If your countertop is installed flush with the cabinet, you will not need the long build-up strip, but if the countertop has an overhang, you need to install a long build-up strip to create a foundation for the end cap.
Additionally, when you install a laminate countertop with an integrated backsplash, there is typically a gap between the backsplash and the wall behind (see Figure 3). It would be best to fill these gaps before installing the end cap.
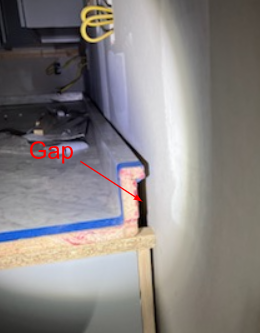
Figure 3
Installing the End Cap before Countertop Installation
If you haven’t installed the countertop yet, follow the below steps:
Begin by installing the long build-up strip. Place the strip flush with the edge of the backsplash (see Figure 4).
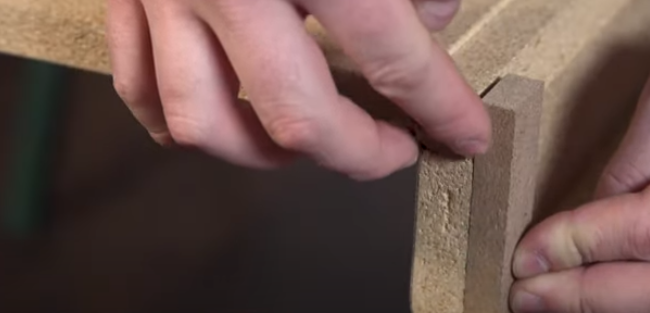
Figure 4
Secure the strip to the backsplash with two nails (see Figure 5). You can apply glue in addition to nails for a more secure connection.
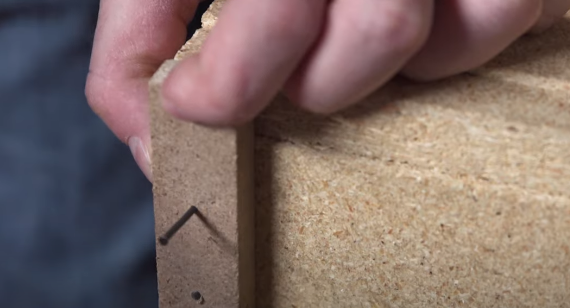
Figure 5
Place the long build-up strip flush with the edge of the countertop (see Figure 6). Consider the overhang depth. Adjust them to your required size if you need a smaller or larger strip.
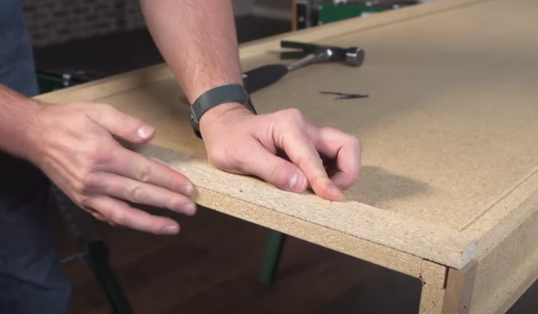
Figure 6
Use four nails to secure the strip in place (see Figure 7).
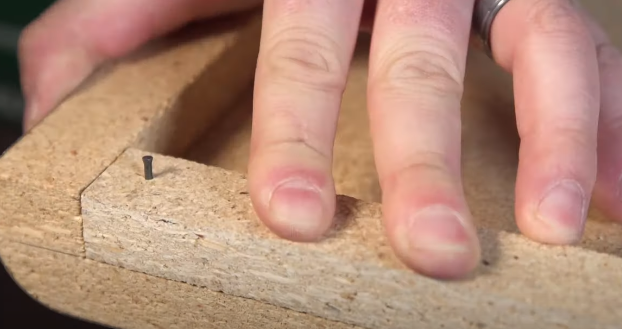
Figure 7
Installing the End Cap after Countertop Installation
If you have already installed the countertop, follow the below steps:
The challenge with an already-installed countertop is that you can’t secure the short strip between the backsplash and the wall with nails. Instead, apply wood glue to the strip and fit it into the gap. It may not be as secure as nails, but it still works. Ensure the strip fits the gap completely (see Figure 8).
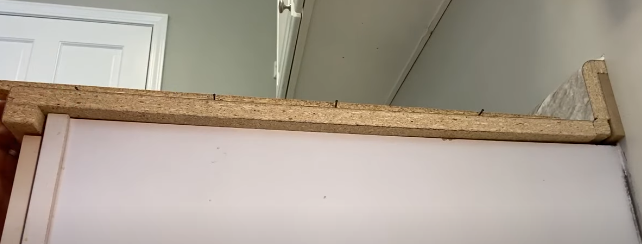
Figure 8
Next, place the long build-up strip flush with the counter. Again, make sure the size of the strip matches the size of the overhang.
Then, place four nails in the strip, hold the strip, and secure the nails with a hammer (see Figure 9).
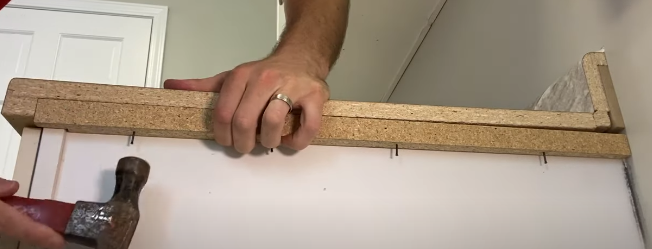
Figure 9
The important note is to ensure both strips are flush with the counter to have a perfectly smooth surface when installing the end cap.
Note: You can apply glue in addition to nails for a more secure connection
2. Prepare the End Cap
Get your end cap ready for installation. Preparing involves making sure it fits the exposed end of your countertop. You should trim or adjust the end cap to match the size and shape of the countertop end.
Place the end cap into position, making sure that its back and bottom align precisely with the edges of the countertop, taking into account the build-up strips you previously installed (see Figure 10).
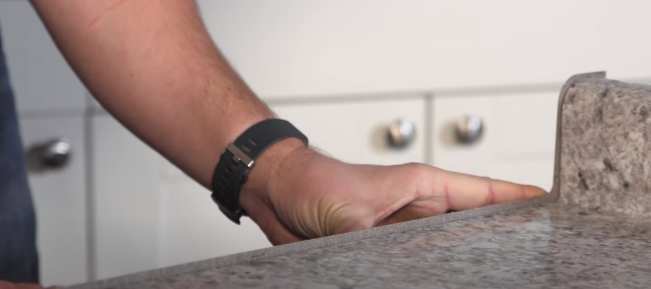
Figure 10
Next, use a marker to trace the outline of the countertop and its profiled edges onto the end cap (see Figure 11).
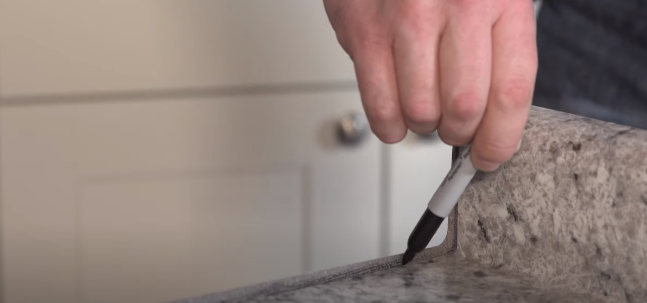
Figure 11
Afterward, trim any excess material from the end cap using scissors. Leave approximately 1/16 inch on all sides (see Figure 12). This step involves cutting away parts extending beyond the traced lines, ensuring a neat and accurate fit.
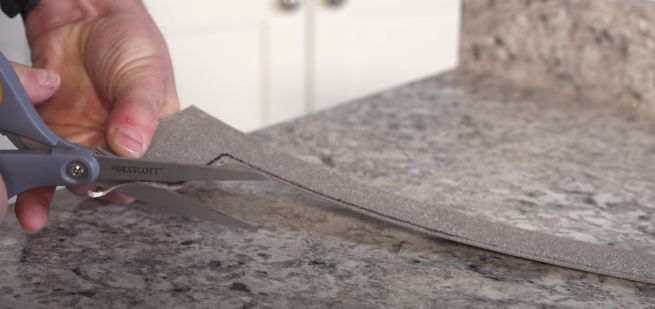
Figure 12
3. Apply the End Cap
It’s time to stick the end cap onto the countertop. So, precisely place the end cap on the countertop, leaving 1/16 inch on all sides (see Figure 13).
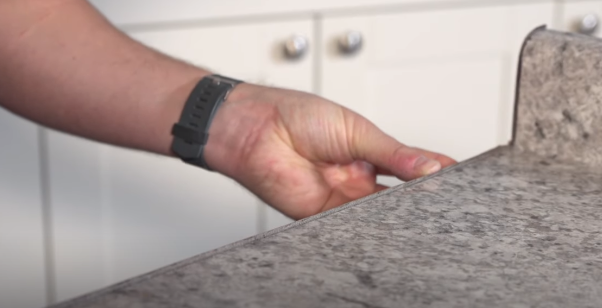
Figure 13
Now, you need an iron to stick the end cap. Set the iron to medium heat. Start at the center of the end cap and use the iron to apply heat and pressure (see Figure 14).
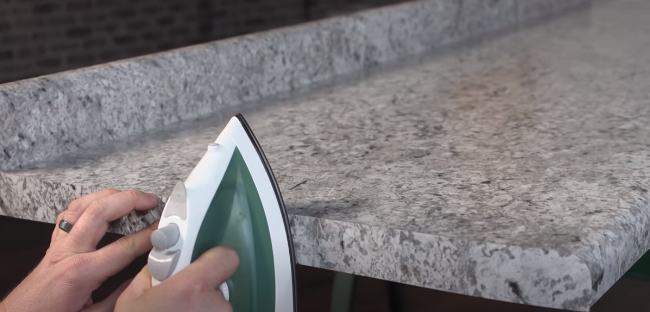
Figure 14
Hold the iron in each location for approximately 10 seconds (see Figure 15).
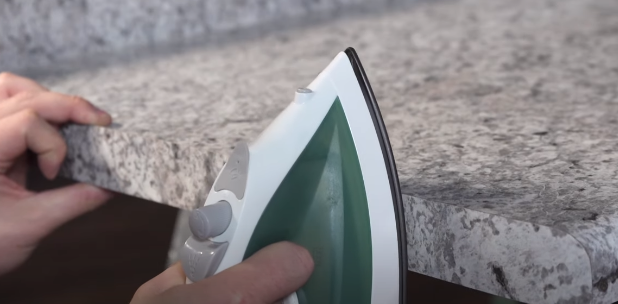
Figure 15
Then use a cool damp cloth to apply pressure. This will set the glue (see Figure 16).
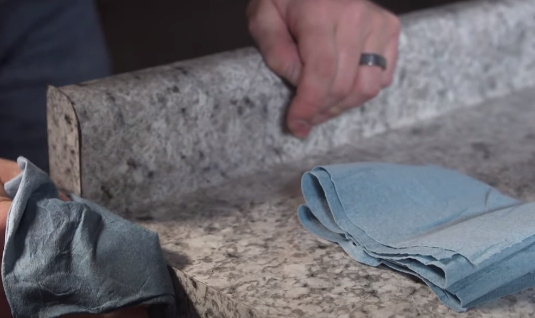
Figure 16
4. Make Sure the End Cap has Adhered
Ensuring the end cap is adhered to the countertop before filing it is essential. So, lightly pull the end cap to test if it is completely adhered to (see Figure 17).
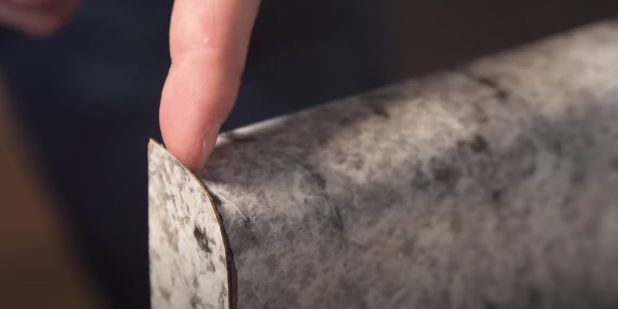
Figure 17
If it is not adhered properly repeat the process with an iron and a damp cloth until the end cap is fully adhered.
5. File the End Cap
Once the end cap is firmly in place, use a file to smooth any rough edges or excess material. This step is like giving your end cap a little makeover, ensuring it looks seamless and blends perfectly with the rest of the countertop.
Use a medium-faced file at a slight two to three-degree angle. File until 1/32 inch remains (see Figure 18). Then, switch to a fine face file until the end cap is flush with the countertop.
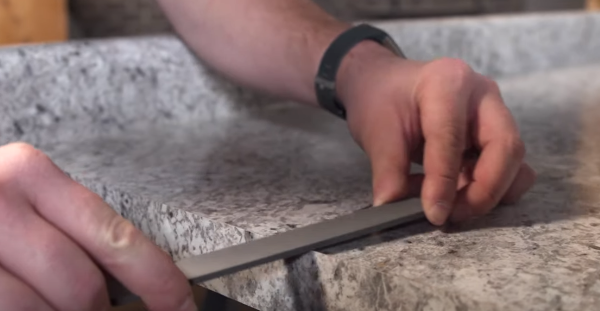
Figure 18
The final step to install a laminate countertop end cap is cleaning the end cap with acetone or soap and water to remove any remaining dust and debris (see Figure 19).
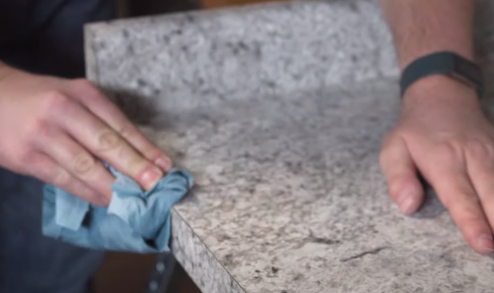
Figure 19
The final result will be a clean beautiful end cap that seamlessly integrates with your countertop (see Figure 20).
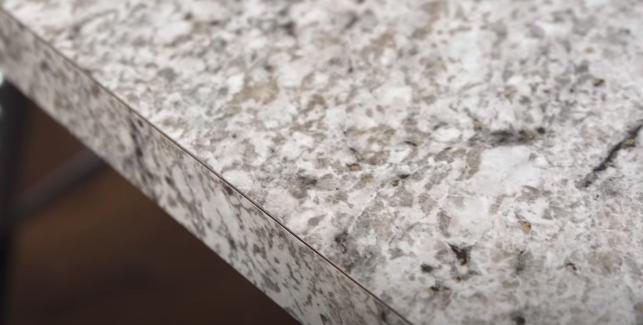
Figure 20
Conclusion
As you observed, the method we explained to install a laminate countertop end cap using end cap kits is straightforward. You can easily follow this guide even if you’re not a professional and wish to replace your kitchen’s old end cap. Remember that working with precision and accuracy is essential for a clean and seamless countertop finish.
However, you may be unable to find an end cap kit that matches your countertop material. In such cases, the method outlined in this guide might be more complex. If you find yourself in this situation, consider watching this video.
If you found this article helpful, please share your thoughts in the comments below. Additionally, let us know your preferences for our next article topic.
Also, if you’re seeking renovation services in Philadelphia and New Jersey, please get in touch with us for a FREE Consultation and Estimate. Our professional team is ready to assist you!


0 Comments